My original arcade recording post is a little over two years old now and almost nothing written there is relevant to what’s running today. I’ve wanted to write a follow-up post for a while now, so here we are. Today, we’ll be revisiting the project to take a look back at some of the things that changed, things that are new, and a little bit of what’s going on behind the scenes.
To briefly recap, this project is called “REPLAY” (named after the SLAKE song, because it always has to be a BEMANI reference), and it hosts a local Wi-Fi access point for you to connect to when you’re at the arcade. Once connected, you’ll be greeted with a web page where you can download recordings from any capture-enabled machine. No need to bring your own hardware.
This was the case back then, and still is today, but here’s where things start to change.
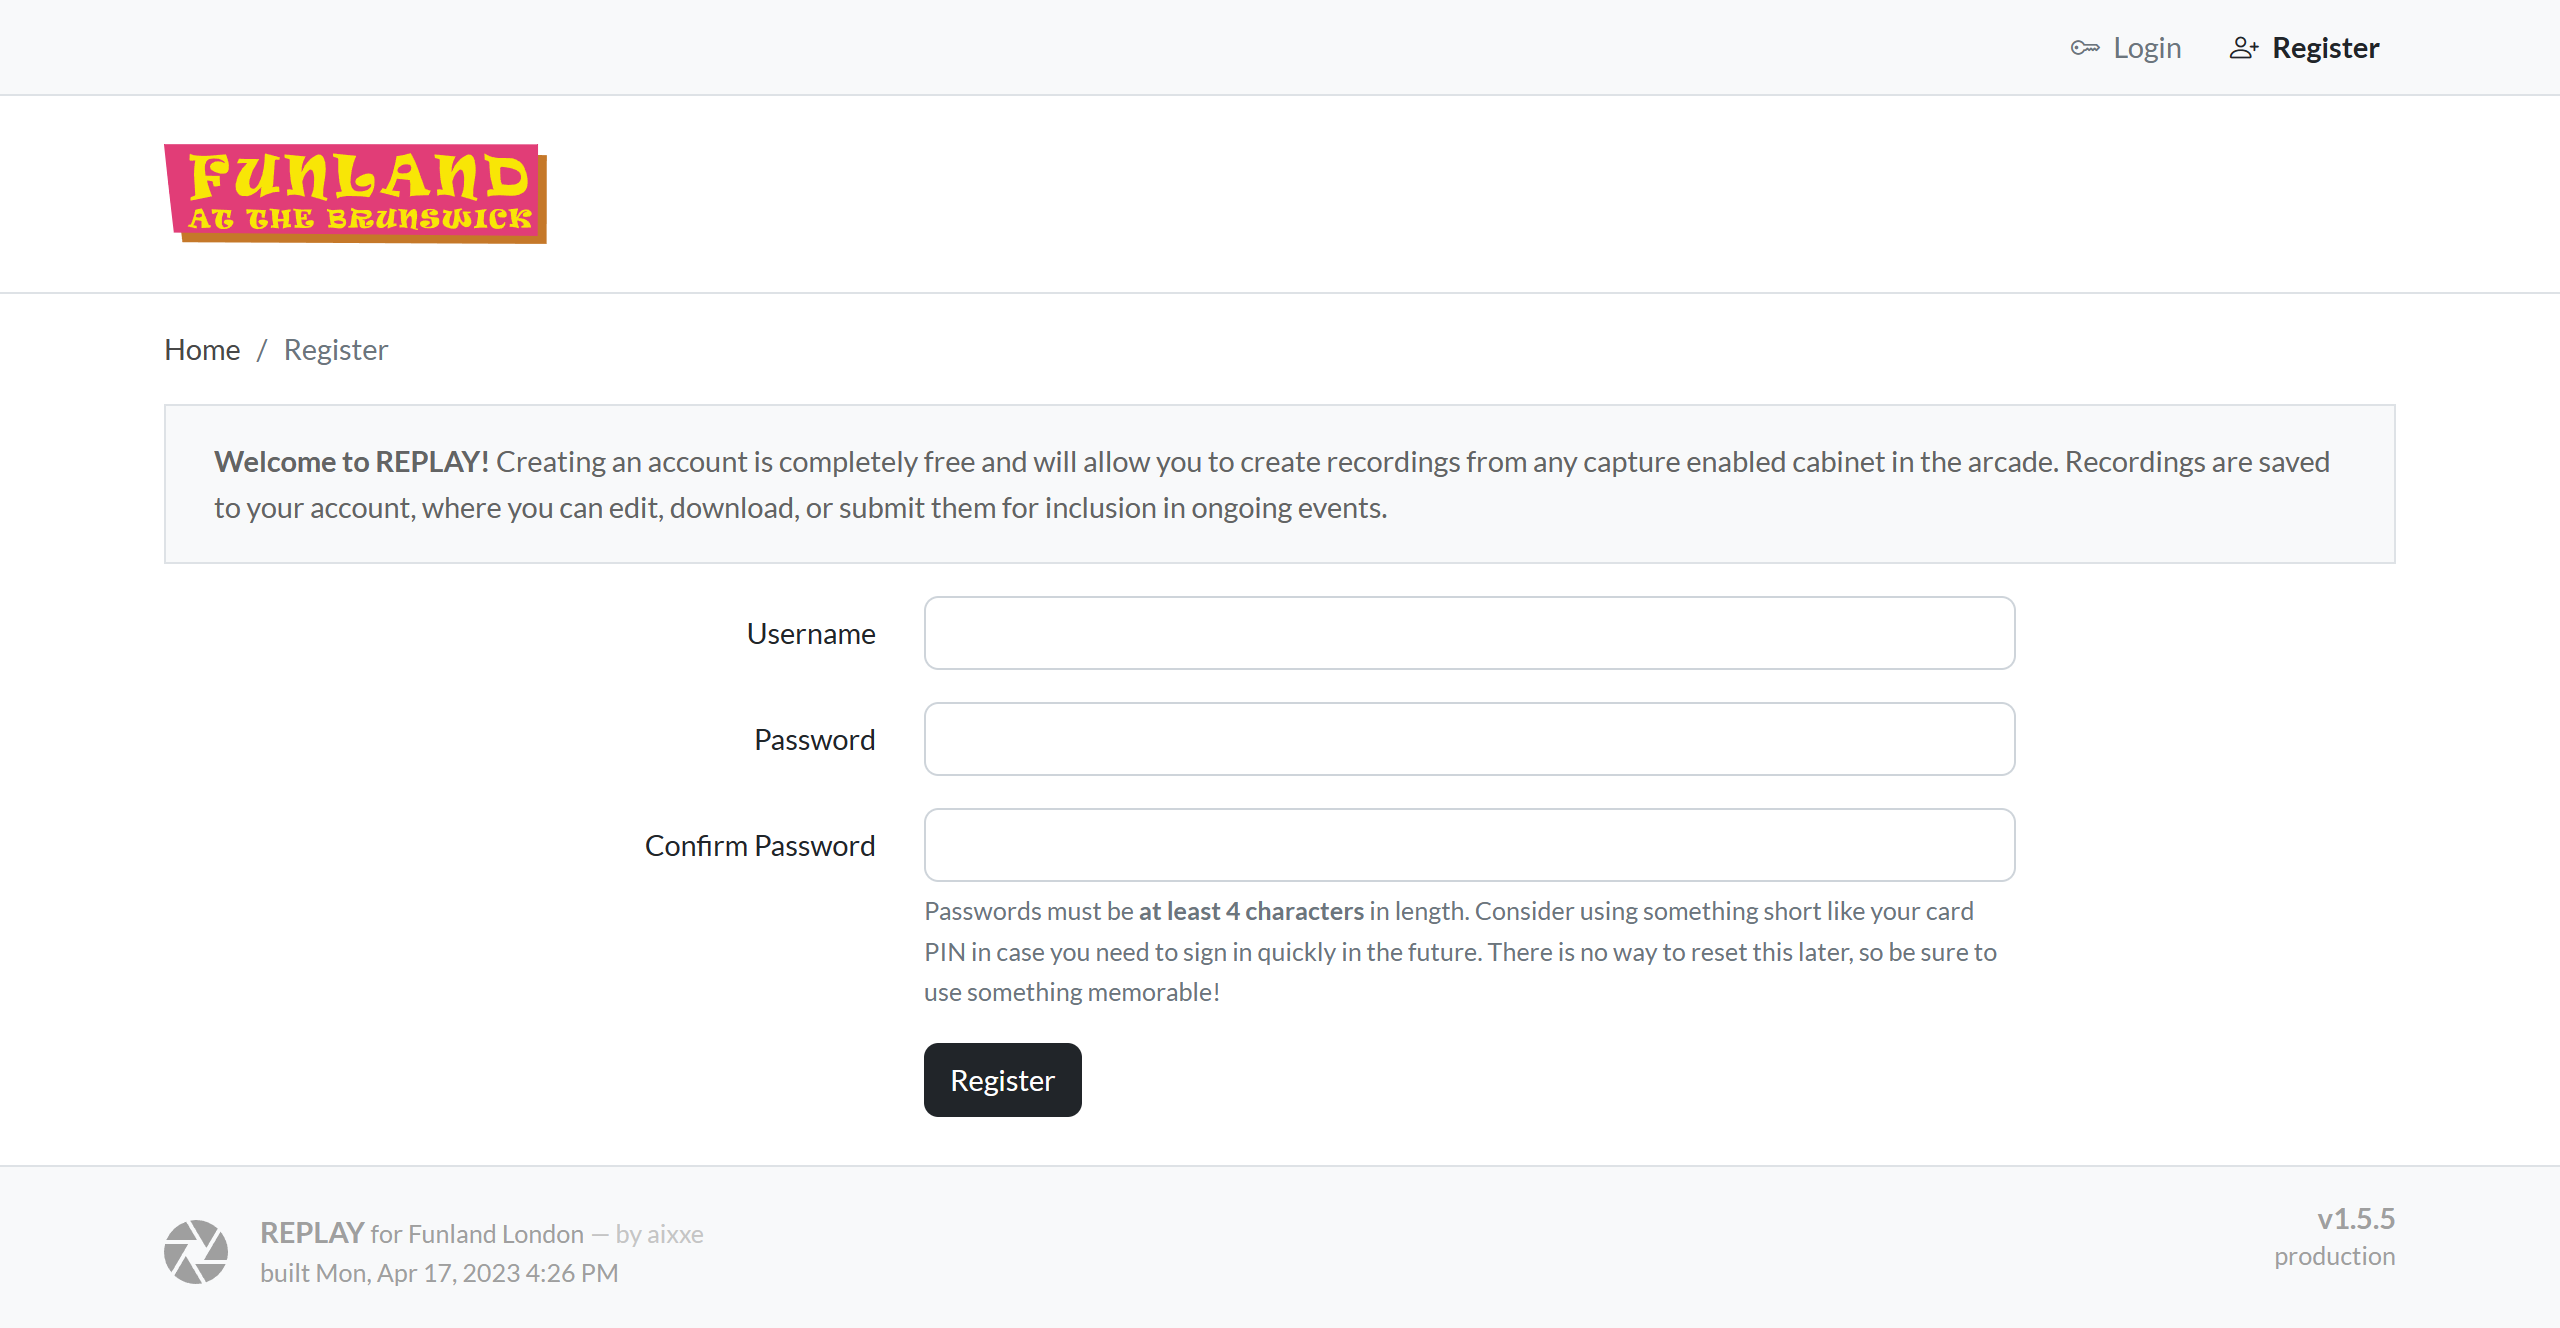 The landing page still needs work, so here’s the registration page instead.
We’re still using the same combination of dnsmasq and nginx to create a captive portal. This means that most devices should open the web interface immediately upon connecting – no need to manually open a browser or enter an address.
While the old frontend was just a single page with a big list of thumbnails, we’re now using a Laravel-based application with a proper user system. Viewing and creating new recordings is tied to your account now, which brings us to probably the biggest difference between versions: recordings are no longer created automatically, and must instead be saved manually.
Since automation was pretty much the defining feature of the original version, and the thing that everything else was built around, I suppose I should explain why I moved away from it before continuing. Here are a few of the reasons I can recall:
Expanding to SOUND VOLTEX meant capturing a 1080p source. Our encoding PCs were just about getting by with 720p, so the additional CPU cost of analysing & encoding at full HD didn’t seem viable without significant trade-offs in quality.
New state code and templates for the frame analysis program were required for every new game. This was a bit more time consuming than I had initially imagined, and thoroughly testing and getting it to be “100% reliable” took even longer.
Intermittent reliability issues on Linux when a capture card and webcam was plugged in at the same time. Usually one would appear, but not the other. Resetting the USB controller would sometimes help. This seemed to be completely random. In general, I found capture card support for Linux to be a bit lacking compared to Windows – especially for internal cards.
Overlaying cameras on top of the game video with FFmpeg was possible, but the synchronizing, aligning, then subsequent re-aligning every time the camera got slightly displaced was about as frustrating as it sounds.
In the end, all the frontend and Wi-Fi stuff was moved to a separate machine known as the ‘control server’, while the recording duties were delegated to standalone ‘recording client’ machines headlessly running OBS Studio on Windows.
Interaction between the control server and a recording client is handled by a custom OBS plugin. When the ‘Save Replay’ button is pressed on the web interface, it sends a request to the relevant recorder to export its replay buffer, which eventually gets uploaded to an API route on the control server, and finally, associated with a player’s account where it can be viewed.
Looking at it all now, I couldn’t be happier with how things are working with this approach, primarily because of how little maintenance is required to achieve the levels of reliability we have. I suppose it’s not as novel as having it be entirely automated, but the trade-off of having to press a single button versus all the stuff mentioned above was worth it, at least in my opinion.
Anyway, let’s take a look at the new frontend.
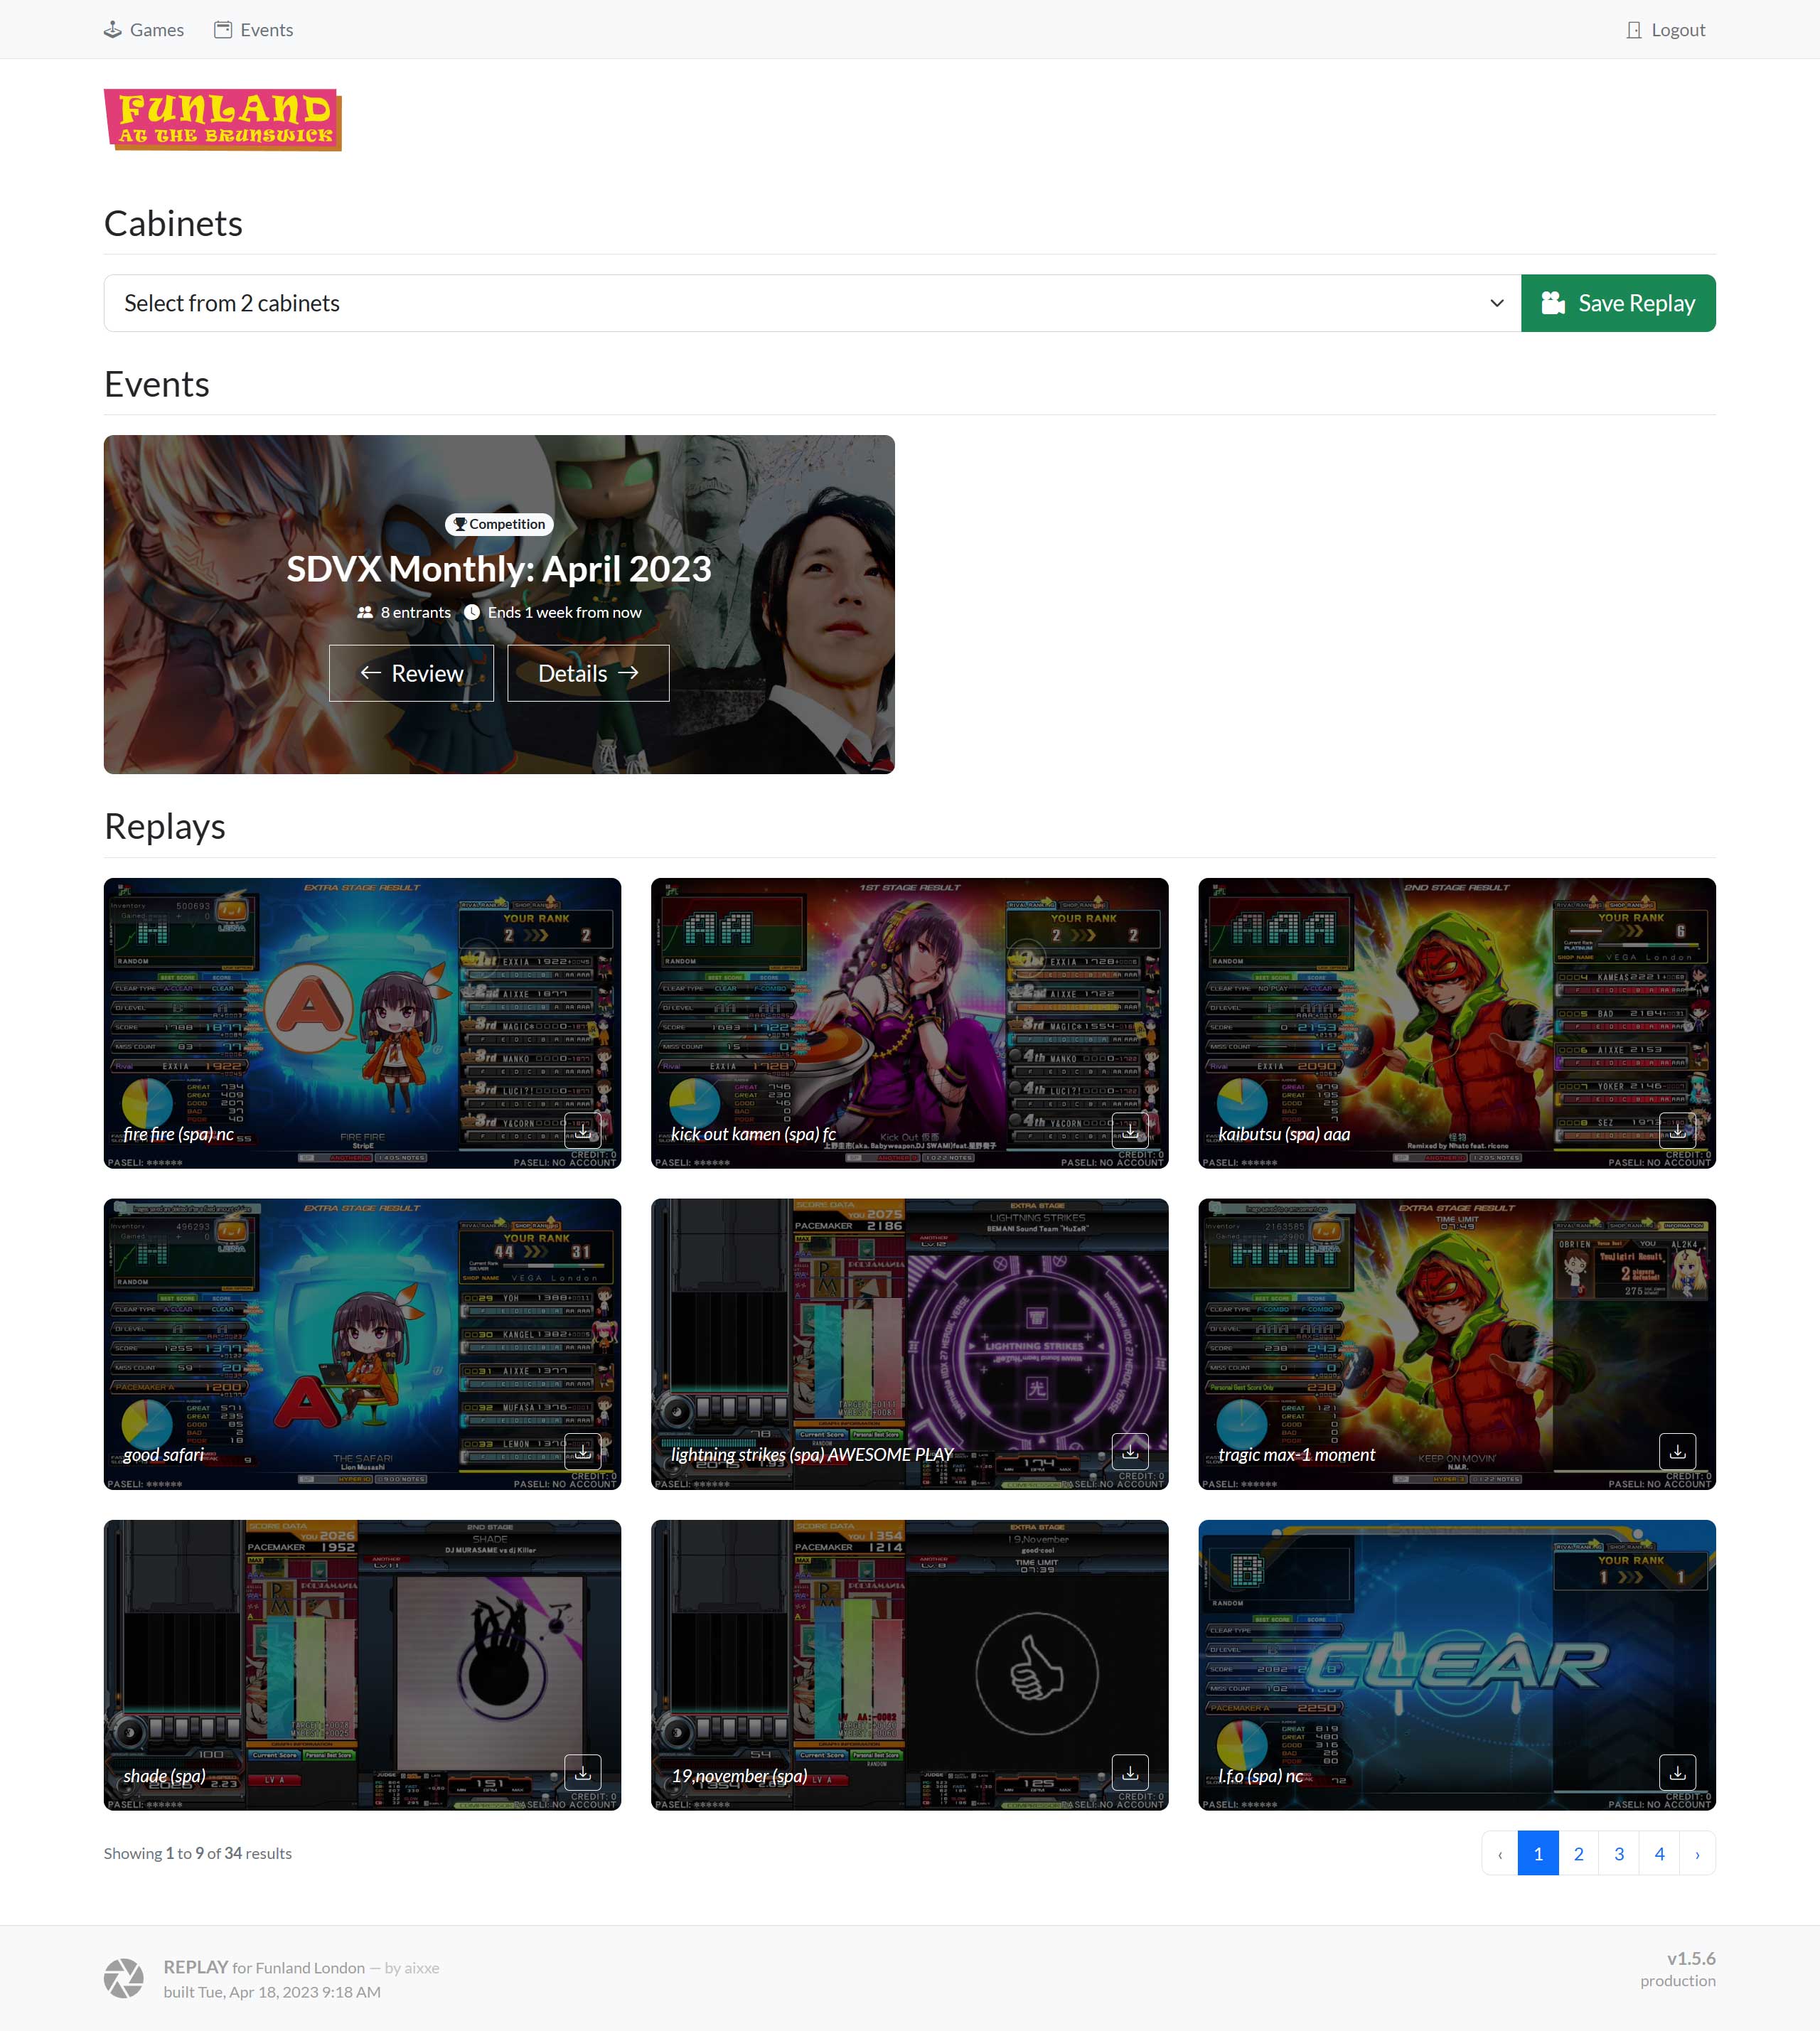
Firstly, we have the home page, featuring quick access to record from any capture capable cabinet in the arcade, a list of ongoing and upcoming events that we can participate in, and then a paginated list of all our saved recordings in order of recency.
A cabinet is considered ‘online’ if the recording client associated with it is actively communicating with the control server. If it stops doing this for a while, it’ll be removed from the list, and I’ll be notified to look into it. Fortunately, this doesn’t happen often.
Focusing on recordings for now, there’s a quick download button on the list view, but also on the video page itself. This simply redirects to the .mp4 file, but with the Content-Disposition header set, forcing it to be downloaded instead of played back.
On an individual recording page, you’re provided with options to rename, download, clip, share or delete the video.
Pressing the “Clip” button will prompt for a name and time region. You can also decide whether you want to keep the original video after creating the clip. While playing the video, you can press the “Set time” buttons to mark the beginning and end of the clip. Clipping is handled by FFmpeg and – since it doesn’t require any re-encoding – happens pretty much instantly.
As for sharing… well, the practicality of this is somewhat limited here, considering the site is only accessible in-person. I originally added this when hosting a public read-only mirror when our old venue closed. This button provides a direct, embeddable link to the video file which can be accessed by anyone else without the need to sign in.
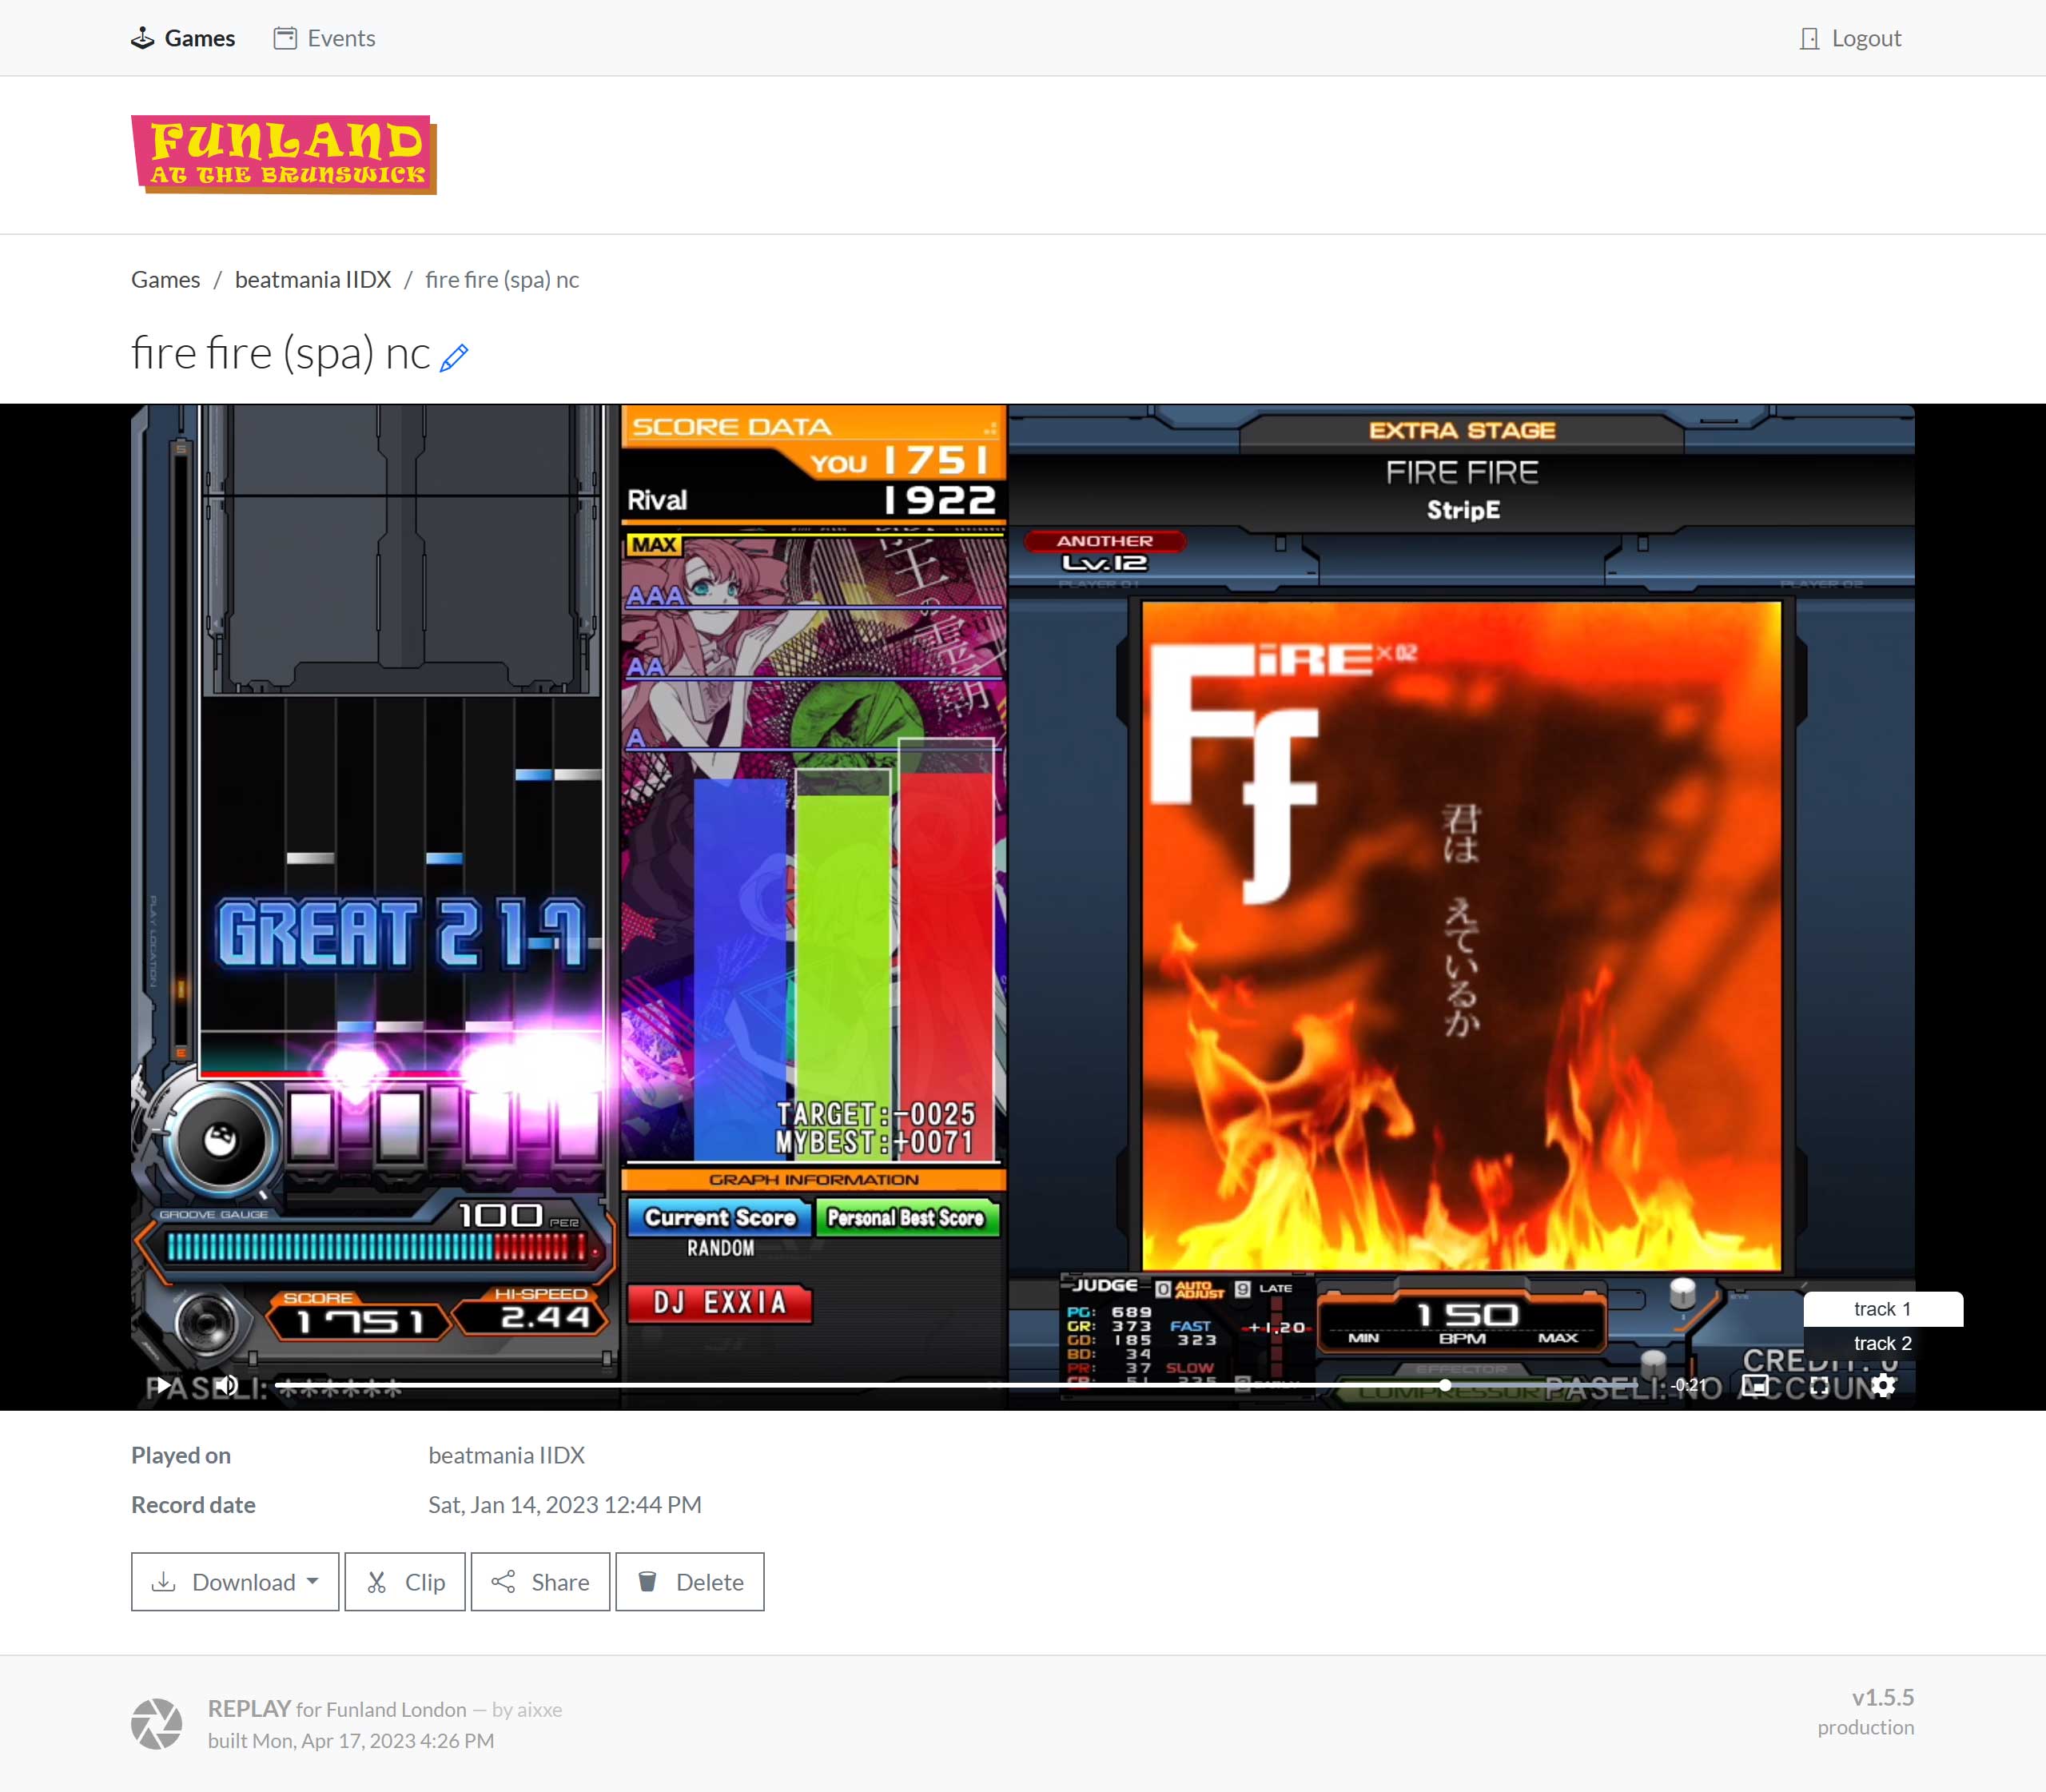
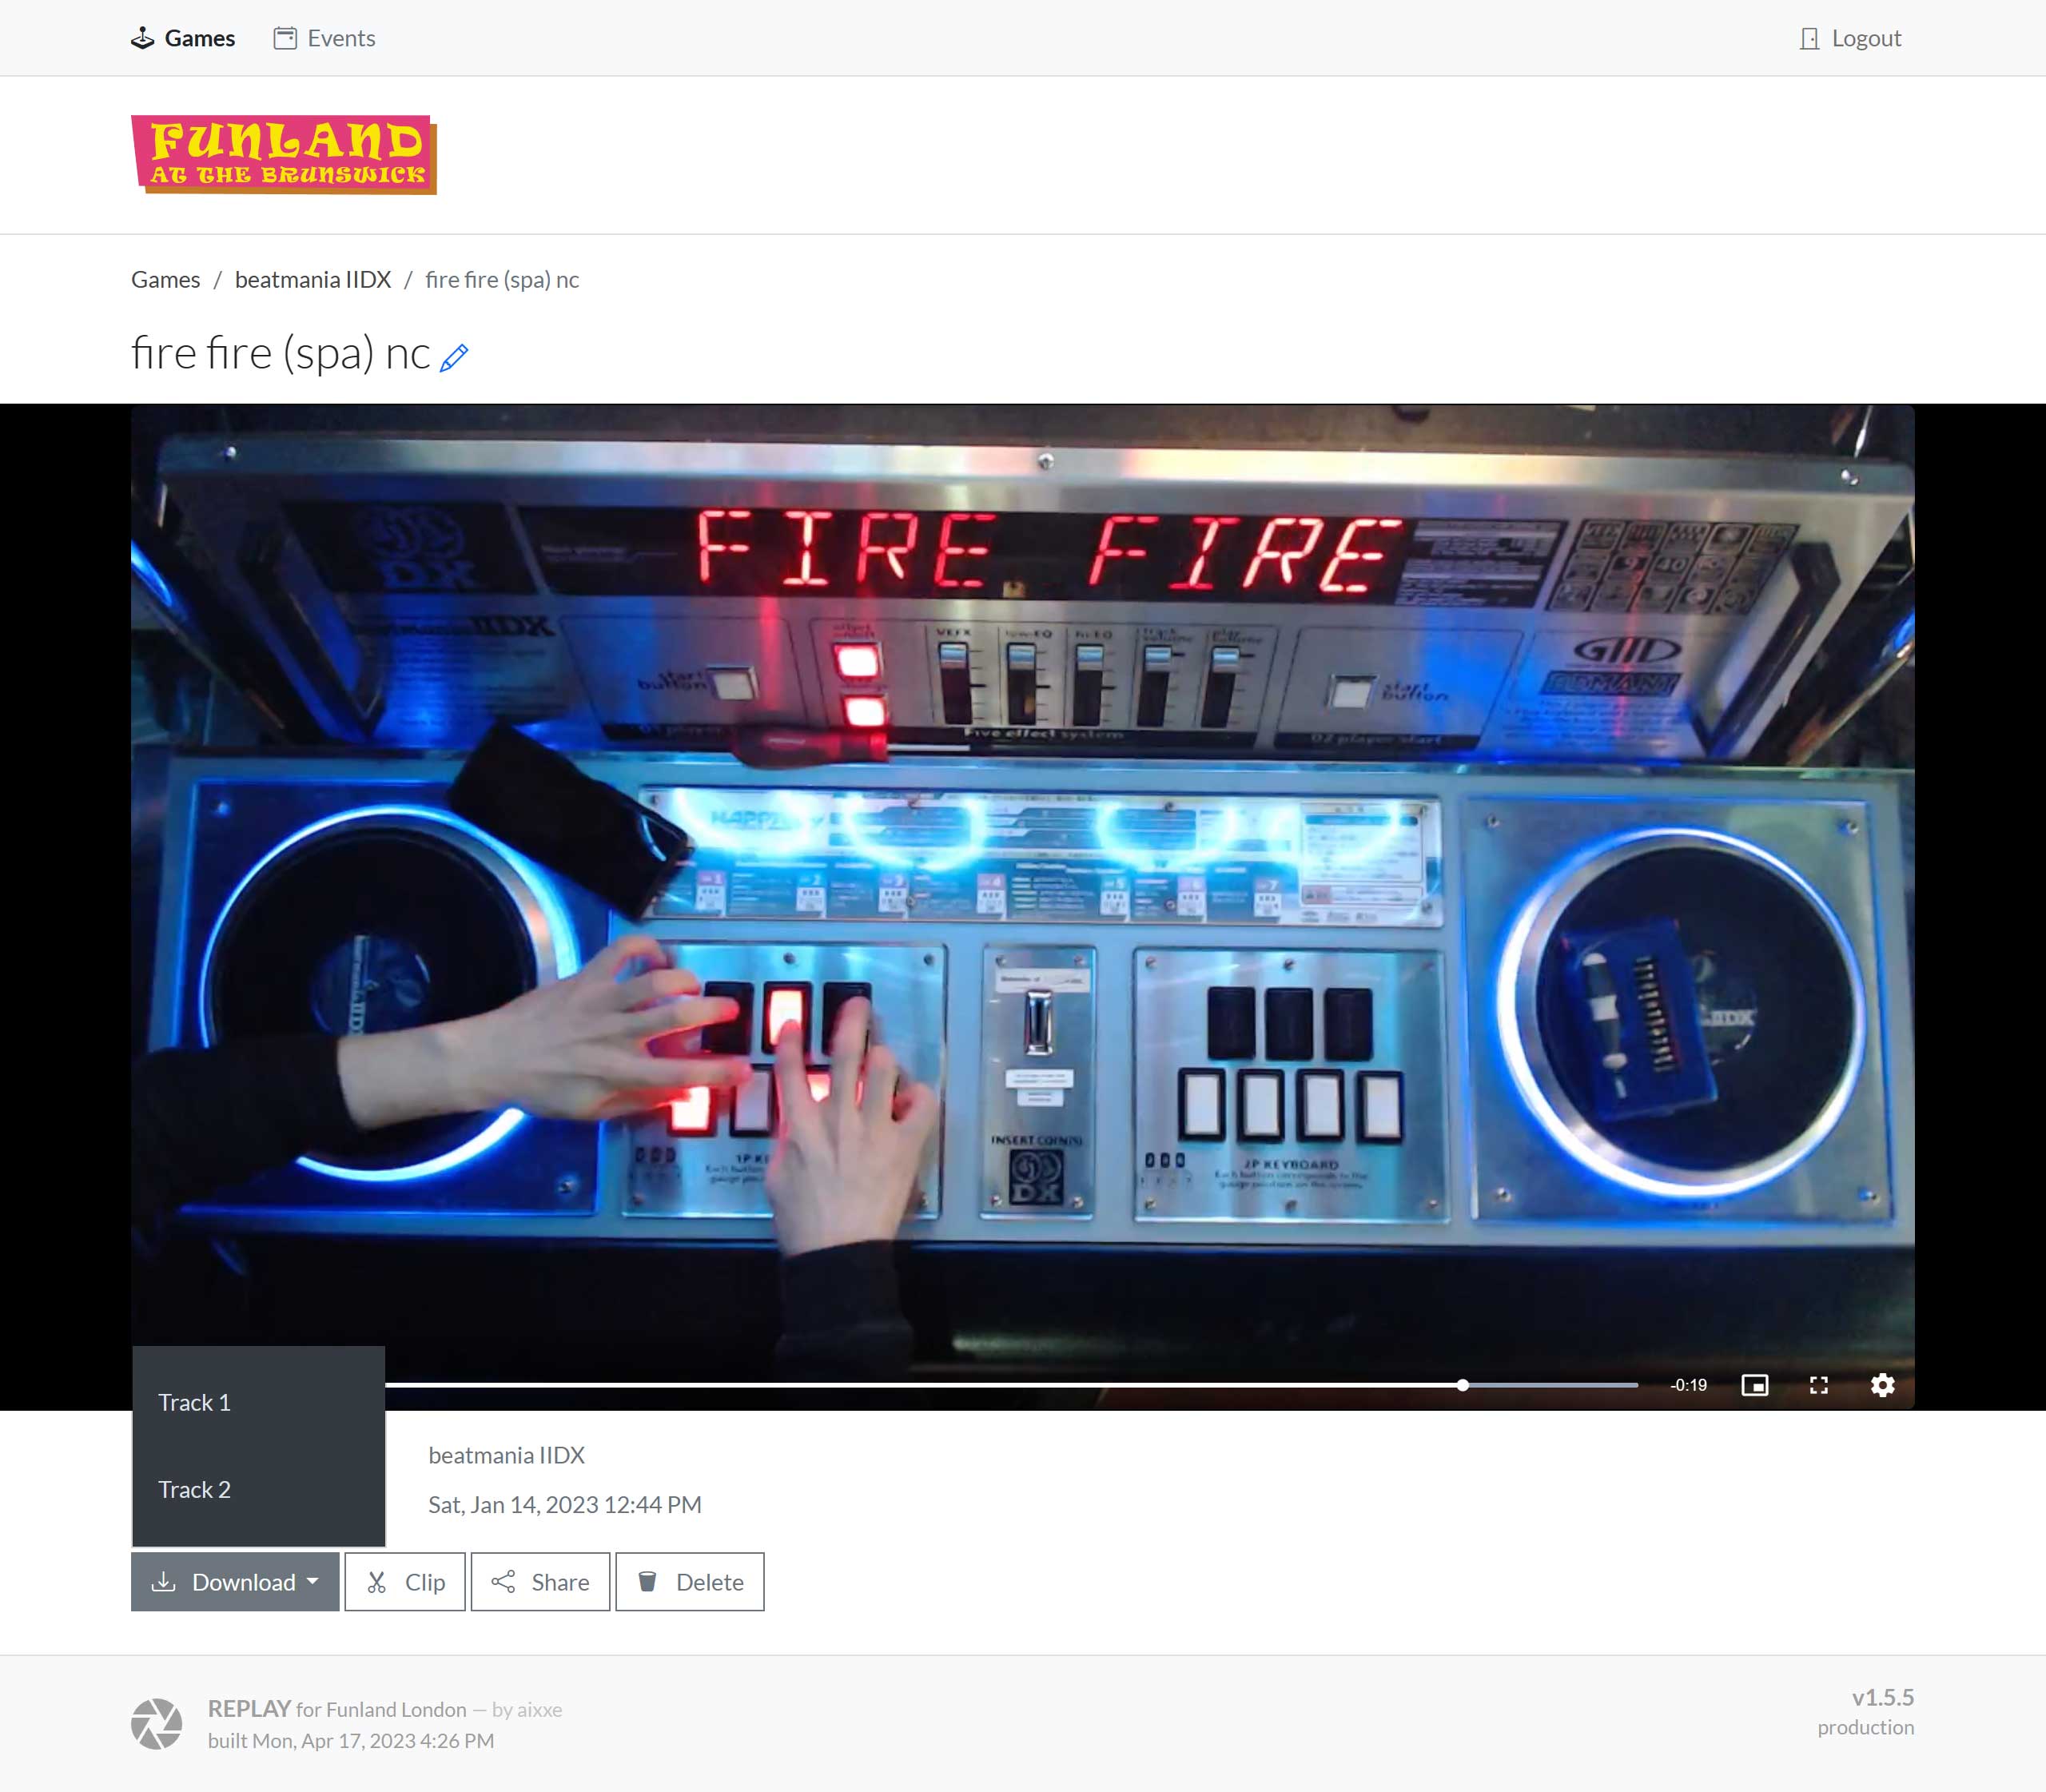
Another new major feature here is the ability to have recordings with multiple tracks. In this case, I’ve got a beatmania IIDX clip that features the game video with line-in audio on one track, and the hand camera with microphone audio on a second track.
Under the hood, my custom plugin has a ‘Tracks’ setting. If this is set above the default of one, the plugin will co-ordinate with multiple instances of OBS running on the same machine. When an export request is received, it will save the buffer from each instance to disk at the same time, gather these recording files, then upload them all to the control server at once.
In this case, there are two separate videos that need to be downloaded individually. With a bit of manual editing magic, you can sync them up and combine them into a single video. Here’s a good example featuring audio and video mixed from both tracks.
Next up, we have events. This is the newest functionality I’ve been working on, with the first event being hosted only a month ago. The two so far have been contests where you play and submit recordings on a set of three pre-determined charts.
I’m running out of other things to talk about, so let’s walk through the process of participating in an event.
First things first, you need to play the chart and save a recording. As you might expect, it’s not possible to submit a recording that was made outside of the event window. When viewing an eligible recording, a “Submit to Event” button will be available.
Once submitted, the recording will be placed into a queue for review, and I’ll get sent a notification to look at it. I should mention that it’s possible to withdraw a submission at any time in case you need to submit an improved score.
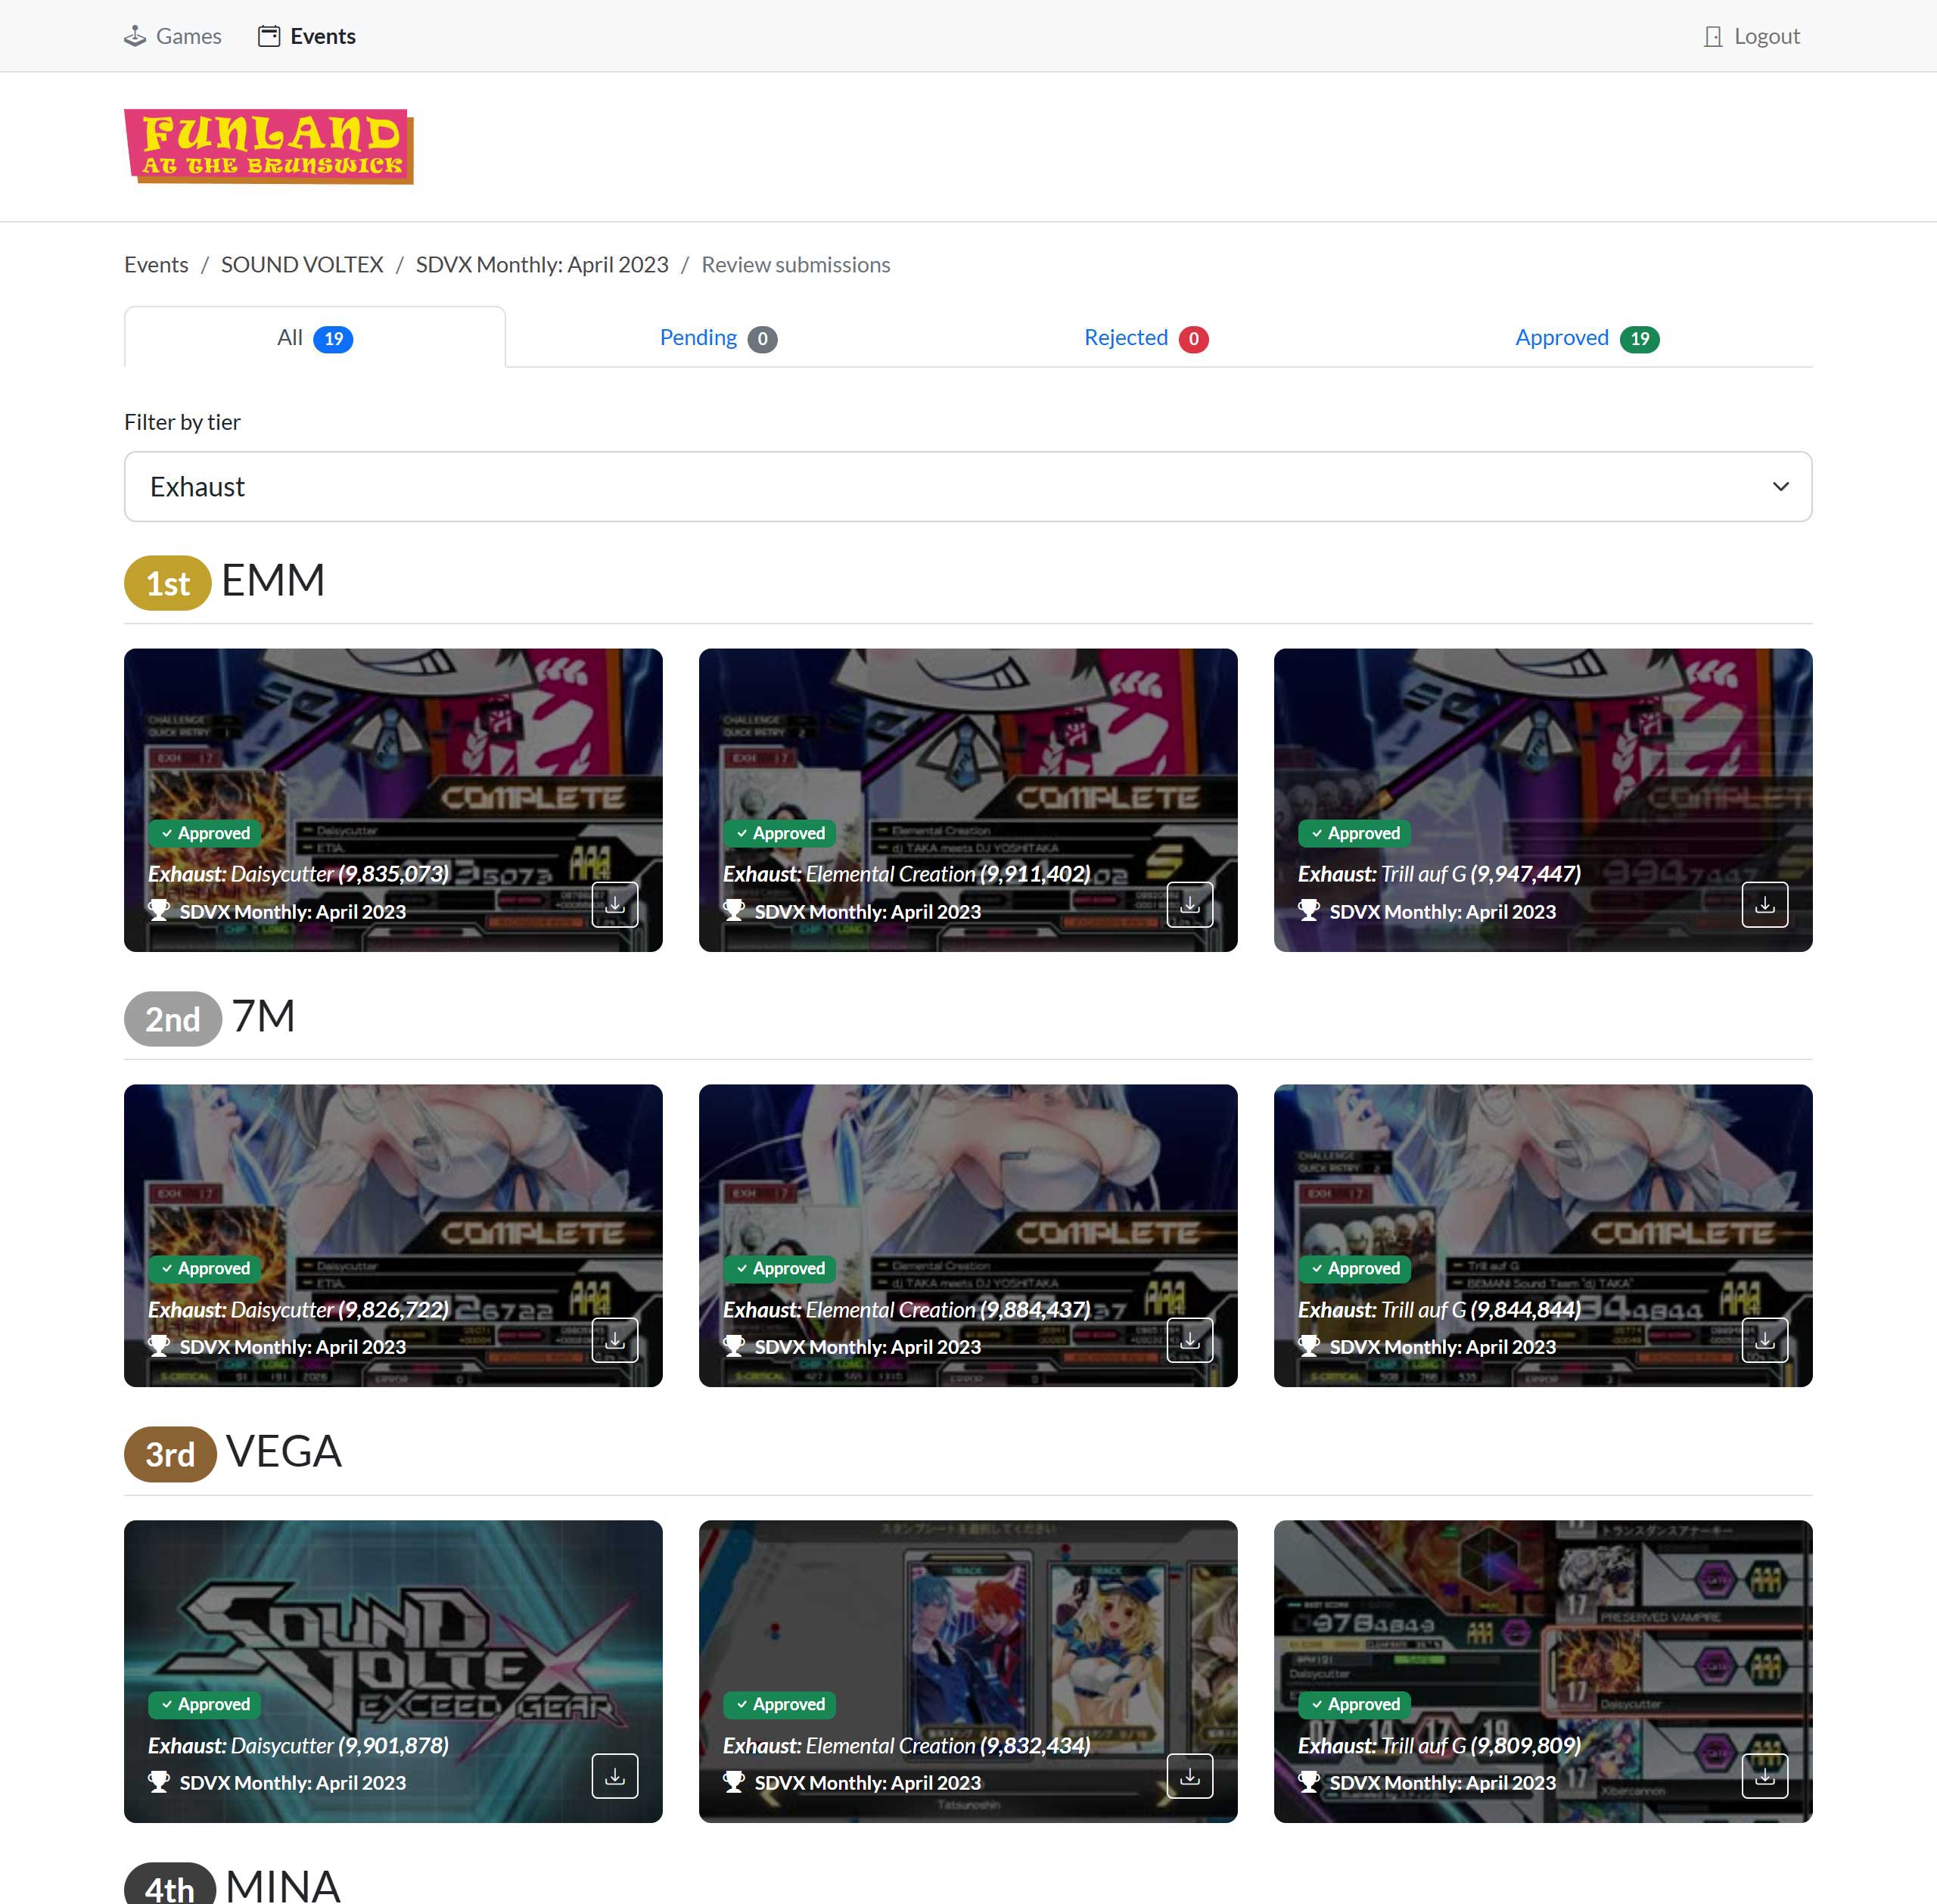

For event organizers, there’s a page for reviewing entries. This is really just a big list with a few tabs to filter by moderation state.
To review entries, I just go through everything in the ‘Pending’ tab and give it a watch, making sure it checks all the boxes before either approving or rejecting. When approving, I’ll also set some metadata which is used in the current standings table.
When there are changes in the top 3 positions, I’ll post the new standings to Discord using the ‘announce standings’ form. I think the best part of this feature is how the images are handled. Since they’re all hosted locally and can’t be referenced by URL, they’re posted along with the request and referenced using attachment:// links in the embed. It took a while to get that working.
 The entry close time is a relative timestamp that updates automatically. Check it out.
I think that’s all I wanted to write about in this post. Looks like it ended up as more of a guided tour with random bits of developer commentary thrown in than anything purely technical, but that’s fine too. I suppose it’s a bit odd that I never write about the long running projects I spend the most time on, so maybe this’ll be the post that changes that.
Anyway, if you’re ever around the venue I hope you can get some use out of it. Be sure to join in if any events are running!
Until next time.